Rooftop turf installation has rapidly gained popularity among homeowners and business owners. This turns plain rooftop spaces into stunning green retreats. When you install rooftop turf, you're transforming an unused or underused outdoor area into a beautiful, low-maintenance zone that adds both functionality and aesthetic appeal.
If you're interested in this project, follow these step-by-step instructions to successfully lay artificial grass on your rooftop. Installing artificial grass products is a straightforward process when handled correctly.
Before starting your rooftop turf installation, it's important to realize how it differs from regular landscape turf installation. The nature of a rooftop environment requires specific steps that will help to make sure the turf remains secure, durable, and functional for years.
As a synthetic grass and turf provider, we are here to guide you on everything you need to know to make your rooftop space the envy of your neighborhood.
Planning and Assessment
The first step in any rooftop turf installation is assessing the structural integrity of your rooftop. Make sure your roof can handle the additional weight of synthetic grass and any other installation components such as underlay, drainage materials, and safety pads.
If you're considering rooftop turf for residential purposes, particularly on flat roofs or terraces, check whether the roofing material is compatible with the weight of artificial grass products.
An experienced contractor with a background in both residential artificial turf services will help you determine the load limits of your roof. It's important to calculate how much weight the rooftop can withstand without compromising safety or integrity.
This might mean choosing a lighter-weight turf or modifying other parts of the setup. Remember, waterproofing materials may need to be installed to protect your roof from any potential water damage caused by rainfall.
Gathering Materials for Installation
Once you've established that your roof is structurally suitable, gather all the necessary materials. For a typical rooftop turf installation, you'll need a few necessary components. All of these are available through your synthetic grass and turf provider:
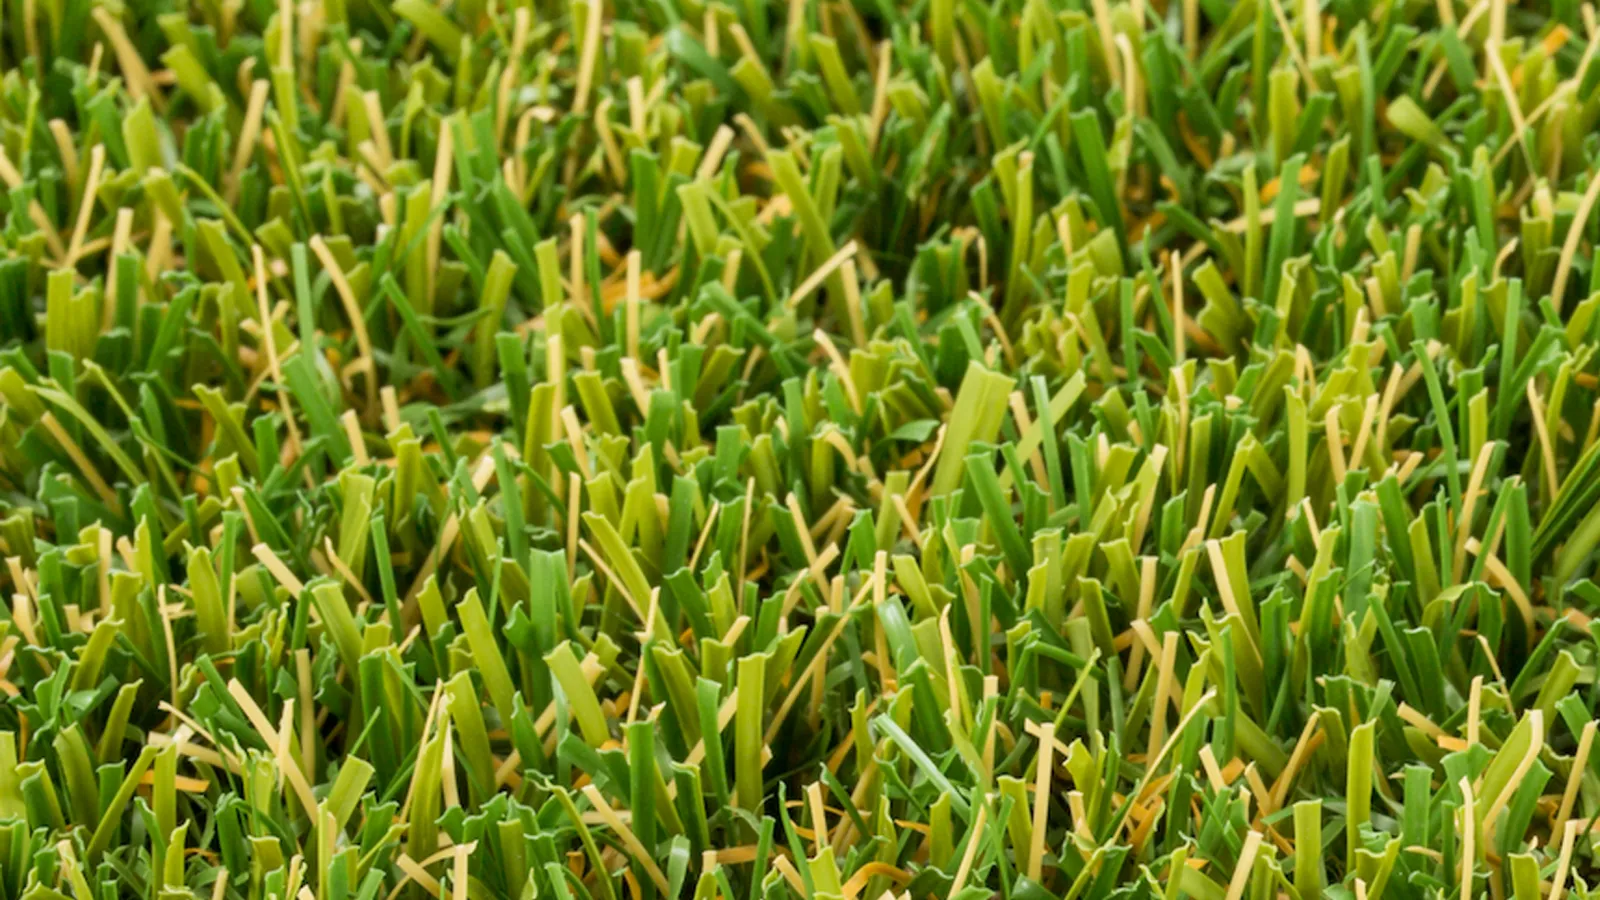
- Artificial Grass Products: Choose a product that suits the aesthetics and durability requirements of your project. Modern turf comes in a number of pile heights, fiber types, and textures. All are designed to replicate the natural look of a grass lawn.
- Shock Pad or Underlay: The purpose of this underlay is twofold: it brings a cushioning effect and improves drainage, so water doesn't pool on the roof surface.
- Seam Tape and Turf Glue: These tools are used to join turf pieces together to create a beautiful lawn without visible seams.
- Quarts Sand: Quartz sand infill is necessary. It protect the fibers of the turf and help the blades stand up. Additonally, the weight helps the turf lay flat and keeps it from shifting
- Nails and Pegs: This may be used to secure the turf edges and keep them in place while the adhesive dries. Make certain these materials are suitable for the roofing type in place. Always keep in mind your application will depend on the type of roof and system that is in place.
- Utility Knife and Tape Measure: Necessary for accurate cuts and measurements during the installation process.
Surface Preparation
Preparing the roof for rooftop turf installation is just as important as the installation process itself. Begin with a complete cleaning of the surface to remove any debris, dirt, or existing plant life.
If the roof is already coated with gravel or pebbles, you may need to remove those in certain cases to create a smoother, more uniform surface.
At this stage, inspect for any holes or cracks in the roof surface. These will need to be repaired by a professional roofer to make sure water drainage is not obstructed. Water accumulation could lead to roof damage over time.
If the surface requires it, install a protective waterproof membrane. This membrane will provide an extra layer of protection against moisture leakage.
Layout and Measurements
Now it's time for precise measurements. Use a tape measure to measure the dimensions of the rooftop and map out where each turf section will be laid. If you're installing turf around obstacles like vents, pipes, or roof edges, make sure to account for these during the layout.
You'll prevent mistakes in turf cutting and minimizing waste by mapping out the area first. It's advised to lay the turf down and let it rest for a while to acclimate to the space. In a few minutes, you should notice the turf expanding naturally. This will reveal any extra materials or adjustments that might be needed to fit the designated area.
Install the Padding/Underlay
Once your measurements are in place and the area is mapped, it's time to roll out the shock pad or underlay. Lay this material down smoothly across the rooftop. Overlap each section slightly to form a smooth barrier beneath the grass.
The padding provides cushioning to the turf and adds further drainage capabilities to avoid issues like water pooling.
The high-quality synthetic grass products you choose to install will remain in excellent shape due to this added protection layer.
Unroll and Secure The Turf
Now comes the most gratifying part - rolling out the turf! Begin with one roll of turf at one end of your mapped area, aligning it neatly with your borders and making sure it fits precisely into your layout plan.
It's important that the turf remains flat without any obvious wrinkles. As you unroll each section, keep the fibers pointing in the same direction to mimic the natural look of real grass.
Once the turf is positioned, cut any excess pieces to fit using your utility knife. Be sure to leave a small gap around edges to accommodate any necessary adjustments. As you work along the perimeter, use nails, staples, or turf-specific adhesive to secure the edges in place.
It's important to fasten the turf securely so that high winds or stormy weather won't disrupt the installation.
Turf Seaming
When multiple sections of turf are being laid down, you need to join them at the seams. For rooftop turf installation, it's important that these seams are both neat and secure. Apply seam tape underneath the edges of the seams, and then adhere the pieces together.
Use turf-specific glue or a high-quality adhesive to keep the seams intact. Make sure to press the turf firmly into the adhesive to achieve a durable and reliable bond.
Leave no gaps or overlaps when seaming, because these can lead to unsightly visible seams or early wear. When the adhesive dries, test the seam by walking over it gently. This makes certain there are no bulges or separations.
Weighting and Fixing the Edges
For final touch-ups, add some weight or pressure around the turf's edges and seams to fully fix them in place. This can be accomplished by using large objects such as bricks or stone that you can place along the borders.
The purpose of this step is to apply pressure for several hours while the adhesive bonds to the padding and the roof surface, guaranteeing full stability.
Check that the turf is all lined up and that any excess or unkempt edges are trimmed. This creates a clean, professional-looking appearance. The more meticulous you are about the turf's final placement, the longer the results will last.
Infill
Once the seams are complete and all the turf is in place, it is time for infill. We recommend 2lbs. per square foot. This gets broomed down into the base of the turf. It is required to keep your turf looking and functioning at its best.
Maintenance and Upkeep
After the turf has been successfully laid, maintenance becomes easier than with traditional landscaping. A well-maintained rooftop turf installation will keep your roof in prime condition. It offers aesthetic enjoyment and stress-free upkeep.
The only maintenance necessary is to keep the turf clear of leaves, twigs and any other debris.
Your turf will a low maintenance, beautiful green space for years to come.
Proper Drainage
When installing turf on your rooftop, proper drainage is a must (referred to in step 3). Roofs are usually prone to pooling water due to lack of grading or natural slopes, which can lead to water stagnation. This ultimately damages both your artificial turf and the roof itself.
Although your underlay and turf material may have built-in drainage features, assess your rooftop's slope to make sure water flows away from high-risk areas. A slight gradient on the surface can promote better water runoff and prevent issues like algae buildup or corrosion of underlying materials.
Durability and Long-Term Performance
An important consideration for those using synthetic turf is the long-term performance of the product.
As an established synthetic grass and turf provider, we can advise you on premium quality products that are UV-treated. This allows the grass to retain its color and flexibility for many years.
Regular and routine upkeep, will maximize the lifespan of your turf. This keeps your rooftop looking green and beautiful for a long time.
Turf Tek's Professional Touch to Rooftop Turf Installations
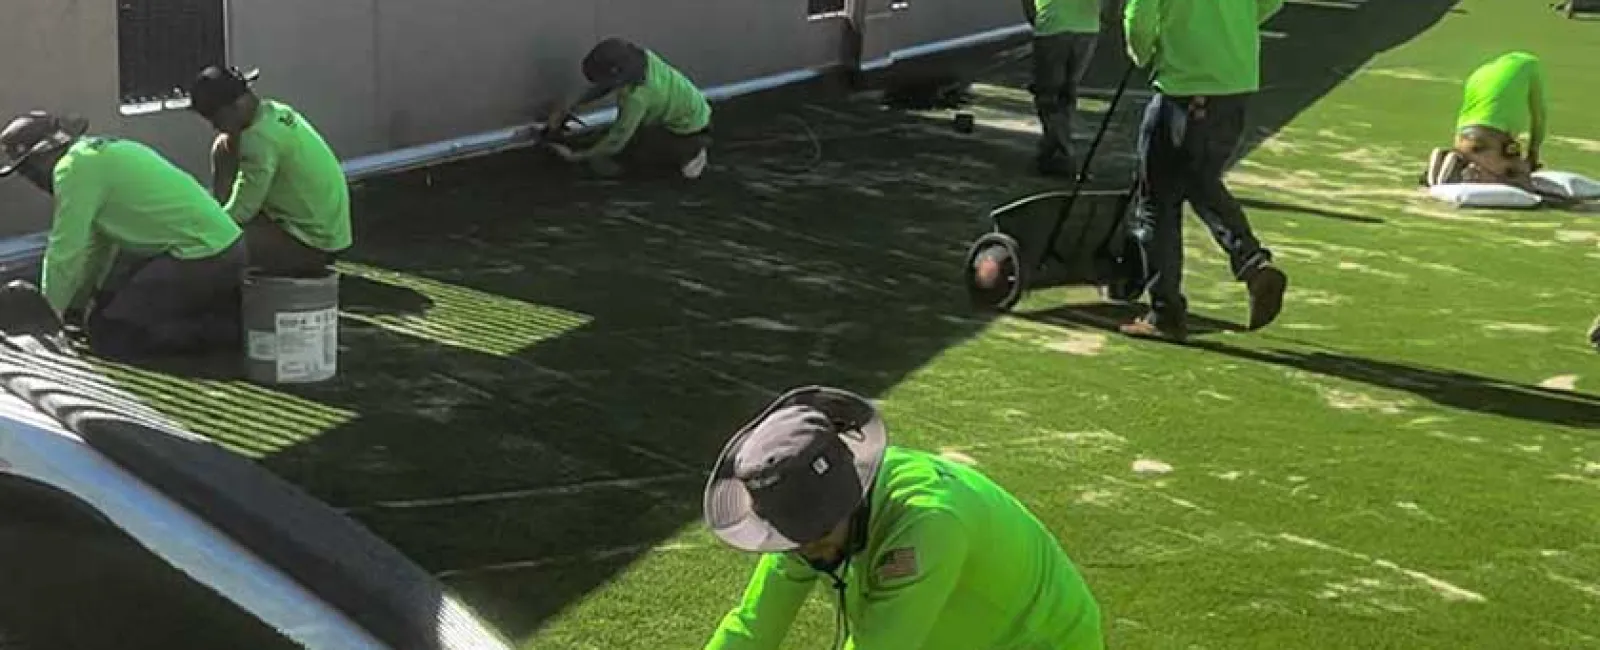
At Turf Tek, we have built a reputation as a leading synthetic grass and turf provider throughout the Northeast. When you choose our residential and commercial artificial turf services, you are choosing unparalleled expertise in turf installation.
Our professional team handles all aspects of the job, from initial consultation to final touches, for top-quality results every time.
As an experienced company in artificial turf installations, we've perfected our process. Our team consists of skilled foremen and workers who come from diverse construction backgrounds. We help in handling even the most complex installations with efficiency. Our speed and accuracy are unmatched, often completing jobs that might take others two or three days in just one.
Our vast knowledge and access to only the best, USA-made products help to make sure your rooftop turf will last for years. Beyond residential spaces, we also handle more complex projects for schools, private parks, and rooftops in New York City.
Ready to improve your rooftop? Call us at 631-651-5777 or use our online form to reach out today.
take this section on weight out completely?
Should we leave this in?
Yes - this is all true!