Quick Summary
Artificial turf installation DIY projects look appealing on paper because of the upfront savings, but the real cost comparison is more complicated once you factor in equipment rental, material waste, and the risk of redoing the work entirely. This guide breaks down actual cost numbers for DIY versus professional installation, the most common and expensive mistakes homeowners make when going the DIY route, and the specific situations where a DIY approach is genuinely reasonable versus when it almost always backfires.
DIY artificial turf vs professional install is one of the most common questions homeowners ask once they decide synthetic grass installation is the right move. The appeal of doing it yourself is obvious: lower upfront cost and the satisfaction of handling the project firsthand. What is less obvious going in is how much the outcome depends on details most first-time installers do not anticipate, from base compaction to drainage planning to seam work.
This guide breaks down the real numbers, the mistakes that show up most often, and the specific situations where DIY is a reasonable choice versus where it tends to cost more than it saves.
The Real Question: Is DIY Artificial Turf Actually Cheaper?
Comparing DIY artificial turf vs professional installation usually starts with one assumption: doing it yourself saves money. That assumption holds up for small, simple projects and falls apart quickly for anything beyond a basic patch of turf.
DIY Installation Costs:
- Turf material
- Base material (crushed stone for example)
- Tool and equipment rental (plate compactor, turf cutter)
- Seam tape and adhesive
- Landscape fabric
- Labor time (factor in research and additional time from being inexperienced)
Hidden costs for DIYers to keep in mind:
- Material waste from cutting errors: First-time installers commonly over-order turf by 15 to 25 percent to account for measurement and cutting mistakes
- Equipment you only need once: Plate compactors and turf cutters are not tools most people own, and rental costs add up if the project runs over a weekend
- Redo costs: If the base is not compacted correctly or drainage is inadequate, the turf has to come up and the base work has to be redone, which can cost more than hiring a professional from the start
- Your own time: A professional crew typically finishes a 500 sq ft residential project in a single day. DIY installers commonly report the same project taking three to five full days, often spread across multiple weekends
When all of this is factored in, DIY artificial turf installation tends to land close to professional pricing for any project beyond a very small area, with significantly more risk and a final result that is harder to predict.
Common Mistakes in DIY Artificial Turf Installation
These are the mistakes that show up most often in DIY artificial turf vs professional installation comparisons, and they explain why the finished result so often falls short of expectations.
1. Skipping or Underbuilding the Base
The base is what determines whether turf stays flat, drains properly, and holds up over years of use. A common DIY shortcut is laying turf directly over existing soil or a thin layer of base material that has not been properly compacted. This leads to soft spots, uneven settling, and a surface that shifts underfoot within months.
A proper base requires excavation to a consistent depth, a permeable base material like crushed stone, and mechanical compaction using a plate compactor, not just foot traffic or a hand tamper. This is the kind of structural work covered in detail in our guide to putting green installation, where base quality matters even more due to the precision required for ball roll.
2. Poor Drainage Planning
Many DIY projects treat drainage as an afterthought rather than something designed into the installation from the start. Without a properly graded base and adequate permeability, water pools beneath the surface after rain, leading to soft spots, odor, and in some cases mold growth beneath the turf.
Professional installations achieve drainage rates upward of 400 inches per hour through correct base material selection and compaction. DIY installations using inadequate base material or skipping this step entirely often fall far short of that, especially in regions with heavy seasonal rainfall like the Northeast.
3. Visible or Poorly Bonded Seams
Seaming two pieces of turf together so the line disappears is one of the more technical aspects of installation. It requires precise cutting, correct seam tape placement, and even adhesive application. DIY seams frequently show visible lines, fiber direction mismatches, or edges that lift over time as the adhesive fails under temperature changes.
This is one of the most common complaints among homeowners who attempt DIY installation: the finished product looks noticeably different from a professional result, even when every other step was done reasonably well.
4. Choosing the Wrong Turf for the Application
Turf designed for decorative landscaping is not built the same way as turf designed for a high-traffic pet-friendly backyard or active play area. DIY installers often select turf based on price rather than matching the product to actual use, intended traffic levels, and drainage needs. This leads to premature wear, matting, or a surface that simply does not perform the way it looked like it would in photos.
5. Insufficient or Uneven Infill Application
Infill stabilizes the turf, keeps fibers upright, and affects how the surface feels underfoot. Without the right type and amount of infill, applied evenly across the entire surface, turf can feel thin, fibers can mat down quickly, and the surface can develop an uneven, patchy appearance over time.
6. Underestimating Total Project Time
Most DIY installation guides understate how long the process actually takes for anyone without prior experience. Excavation alone can take a full day for a mid-size project when done by hand or with rented equipment unfamiliar to the user. Add grading, base compaction, turf placement, seaming, and infill application, and a project estimated at one weekend frequently stretches into two or three.
When DIY Artificial Turf Installation Actually Makes Sense
DIY is not unreasonable in every situation. There are specific scenarios where it is a genuinely practical option.
DIY can work well for:
- Very small areas under 100 sq ft, such as a small dog run or a decorative patch with no functional drainage demands
- Flat, well-draining sites with no grading or slope correction needed
- Low-traffic decorative applications where minor imperfections in seaming or leveling will not significantly affect daily use
- Homeowners with relevant experience, such as prior landscaping, masonry, or hardscaping work involving excavation and compaction
- Temporary installations where long-term durability is not a primary concern
DIY is not a good fit for:
- Any area over 300 to 400 sq ft, where the time, physical labor, and risk of error scale significantly
- Sloped or uneven sites requiring precise grading
- High-traffic areas like backyards used daily by kids or pets, where base quality directly affects how long the installation lasts
- Sports surfaces and athletic turf, where ball roll, surface consistency, and performance specifications require professional-grade preparation
- Properties with existing drainage challenges, such as low-lying yards or areas near downspouts
- Anyone without access to or experience with a plate compactor, since improper compaction is one of the leading causes of installation failure
A useful way to think about it: DIY artificial turf installation is reasonable when the stakes of getting it slightly wrong are low. The moment the project involves real square footage, daily heavy use, or a surface where performance matters, the math and the risk both favor hiring an experienced installation crew.
What Professional Installation Adds That DIY Cannot Easily Replicate
Beyond avoiding mistakes, professional installation brings a few things that are genuinely difficult to achieve without years of hands-on experience.
Speed without sacrificing quality
A trained crew with the right equipment completes in one day what takes most DIY installers a week of weekends, and they do it without the trial-and-error learning curve that leads to mistakes.
Material sourcing and matching
Professional installers have access to turf products built specifically for different applications, from heavy-traffic pet areas to luxury landscape turf, and know which product fits a given project based on traffic, climate, and intended use.
Engineered drainage systems
Northeast weather brings freeze-thaw cycles and heavy seasonal rain that punish poorly drained installations. Professional crews build drainage into the base from the start rather than hoping the surface holds up.
Warranty protection
A professional installation typically comes with a product and installation warranty. A DIY project has no safety net if something goes wrong six months or two years down the line.
Considering DIY or Professional Installation? Let's Talk It Through
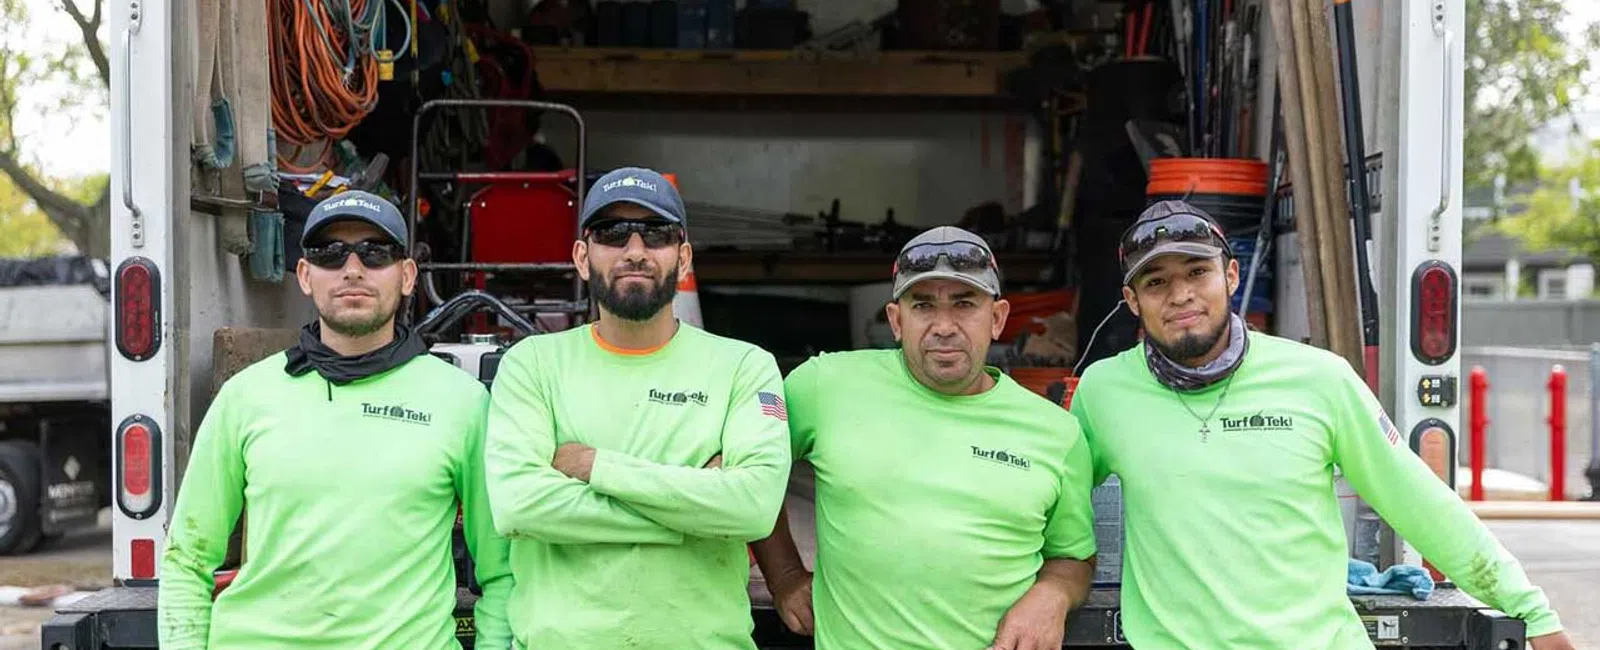
Turf Tek USA has installed artificial turf across the Northeast long enough to know exactly what separates an installation that lasts fifteen years from one that fails in two. Every member of our installation team has been trained on our proprietary system engineered specifically for Northeast weather and drainage demands.
If you are weighing DIY against professional installation, call (631) 651-5777 or contact us for a free site visit and honest assessment of what your project actually needs.